react-native-button
https://github.com/ide/react-native-button
さっそく
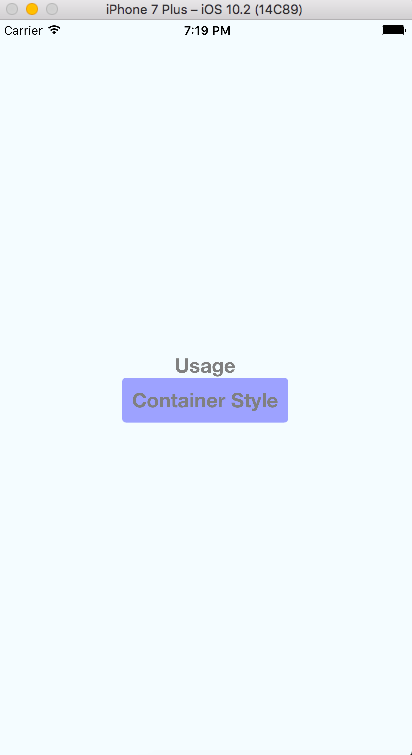
npm install react-native-button --saveREADMEを参考にコードを書くとこんな感じ

Container Styleはシンプルで使えそう!
コードはこんな感じ
<Button
  style={{fontSize: 20, color: 'gray'}}
  styleDisabled={{color: 'black'}}
  onPress={() => this._handlePress()}>
  Usage
</Button>

<Button
  containerStyle={{padding:10, height:45, overflow:'hidden', borderRadius:4, backgroundColor: '#99AAFF'}}
  style={{fontSize: 20, color: 'gray'}}>
  Container Style
</Button>
APSL/react-native-button
https://github.com/APSL/react-native-button

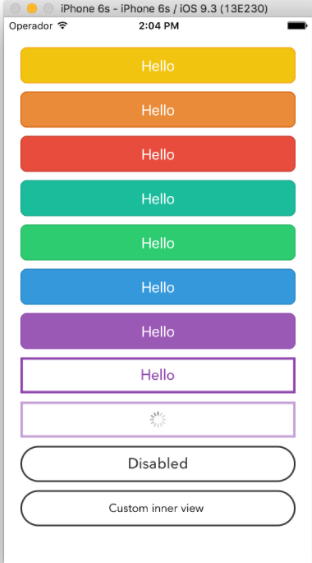
このライブラリはオプションがたくさんあって幅は広そう
個人的に
isLoadingが良かったです。
ここら辺でボタンのコンポーネントは自作したほうが良いことに察したので、
次回はボタンを自作してみようと思います。
0 件のコメント:
コメントを投稿