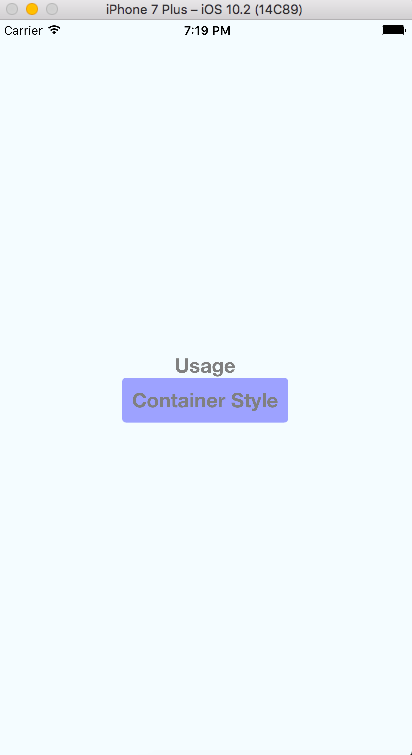
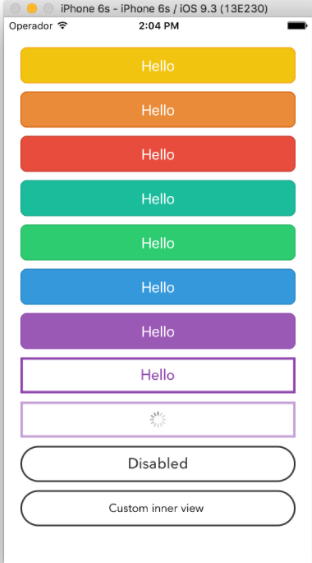
今回はReact Native公式のButtonコンポーネントを使ってみましょう
http://facebook.github.io/react-native/releases/next/docs/button.html#button
アプリをビルド
もちろん既存のアプリで全然大丈夫です。
react-native init AwesomeProject
cd AwesomeProject
react-native run-ios
完全に公式Getting Startedのコピペ
おなじみの下の画面になるはず

公式に載ってる
Example usage
<Button
  onPress={onPressLearnMore}
  title="Learn More"
  color="#841584"
  accessibilityLabel="Learn more about this purple button"
/>
Example usageを参考に
index.ios.jsを編集します。
import React, { Component } from 'react';
import {
  AppRegistry,
  StyleSheet,
  Text,
  View,
  Button
} from 'react-native';

export default class AwesomeProject extends Component {
  render() {
    return (
      <View style={styles.container}>
        <Button
          onPress={() => console.log('test')}
          title="Learn More"
          color="#841584"
          accessibilityLabel="Learn more about this purple button"
        />
      </View>
    );
  }
}

const styles = StyleSheet.create({
  container: {
    flex: 1,
    justifyContent: 'center',
    alignItems: 'center',
    backgroundColor: '#F5FCFF',
  },
});

AppRegistry.registerComponent('AwesomeProject', () => AwesomeProject);
無事ボタンが作成できました!
ボタンてよりかはほぼほぼリンクw
ボタンを無効にする
disabledを追加するとボタンが灰色がかって、押せなくなります。
これはちょっと便利
<Button
  onPress={() => console.log('test')}
  title="押せないボタン"
  disabled
/>

Alertと組み合わせる
ボタンを押すとウインドウが出現する機能をつけてみましょう。
Alertを追加します。
import {
Alert
} from 'react-native';
あとはこんな感じ
export default class AwesomeProject extends Component {
  render() {
    return (
      <View style={styles.container}>
      <Button
        onPress={this.alertMessage}
        title="ボタン"
      />
      </View>
    );
  }
  alertMessage() {
    Alert.alert('Button has been pressed!');
 }
}
alertMessage関数を作ってButtonのonPressに渡してあげるだけです。

最後に
うーん。ちゃんとstyleを当ててあげないとボタンぽくならないのが残念ですね。
公式ではTouchableOpacity や TouchableNativeFeedbackを使って独自のボタンを作れるとのこと、次回試してみたいと思います。


